You may know about the useful little screenshot tool called Snip & Sketch (press Windows logo key + Shift + S), which was introduced with Windows 10 and we certainly have made full use of it on our desktops here at Pro Drive IT. Not least because it provides users with access to a complete set of screen-capture tools.
However, for Windows 11, Microsoft combined the old Snip & Sketch with their legacy Snipping Tool in one application – called – you guessed it – the Snipping Tool. And just to add to the confusion the icon of the new Windows 11 Snipping Tool is the same as that of the old Windows 10 Snip & Sketch.
You still access the latest Snipping Tool by pressing Windows logo key + Shift + S.
So, what’s new?
Windows 11 Snipping Tool has an optional ‘timer’ delay before it takes the screen shot and Microsoft has recently added screen recording capabilities so you can produce videos of action on your screen.
How to screen snip on Windows 11
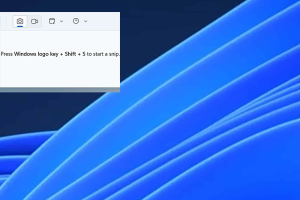
- Press Windows logo key+Shift+S to open the Snipping Tool directly.
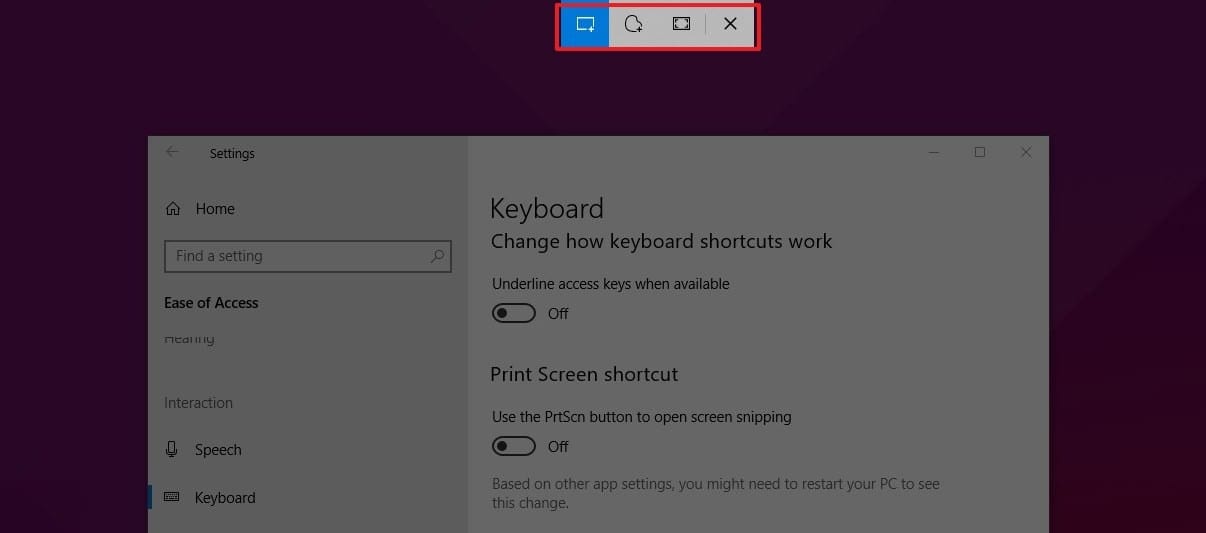
- After entering the keyboard shortcut, you’ll see a box at the top of your computer.
- Choose between the following screenshot options: (from left to right) rectangular selection, freehand selection, window, or full-screen capture.
- Pick the rectangular selection or use freehand selection to highlight a designated screenshot area for an active window or your full screen.
- Look for a thumbnail image of your selection in the lower-right-hand corner of your screen after capturing your screenshot.
- The Snipping Tool copies your screenshot directly to your clipboard, so you can paste (CTRL+V) your image into another app if needed.
How do I edit with the Snipping Tool?
Open the thumbnail at the bottom of your screen and select from the tools available like highlight, crop, colour and write. Once you’ve finished you can save your screenshot by clicking the floppy disk icon.
There ‘s a Share option to send it to colleagues etc, and you can also print.
Windows 10 Snip & Sketch
The tool enables you to take a shot of the entire screen, a rectangular section or a freeform area and copy it to the Clipboard.
When it comes to annotating your screenshots, Snip & Sketch allows you to modify the ‘snip’ virtually any way you like by cropping, highlighting, writing on or drawing on the image. If you have a touchscreen, you can even write with a stylus or your finger. And when you’re done, you simply save as a PNG file, copy and share the final image using email, nearby sharing or another supported application.
You can use it to create step-by-step tutorials, which are helpful when trying to show colleagues, employees or even your customers how to do things – particularly if they are quite technical. From an IT standpoint, the tool can be used to record bugs or glitches which is useful to help get the problem fixed quickly and effectively. Beyond that, the tool is also great for capturing and sharing ideas.
Taking a screenshot using Snip & Sketch
There are at least three ways to access and take screenshots on Windows 10 using Snip & Sketch. The easiest way to get to the snipping tools is to use the Snip & Sketch app:
- Open Start.
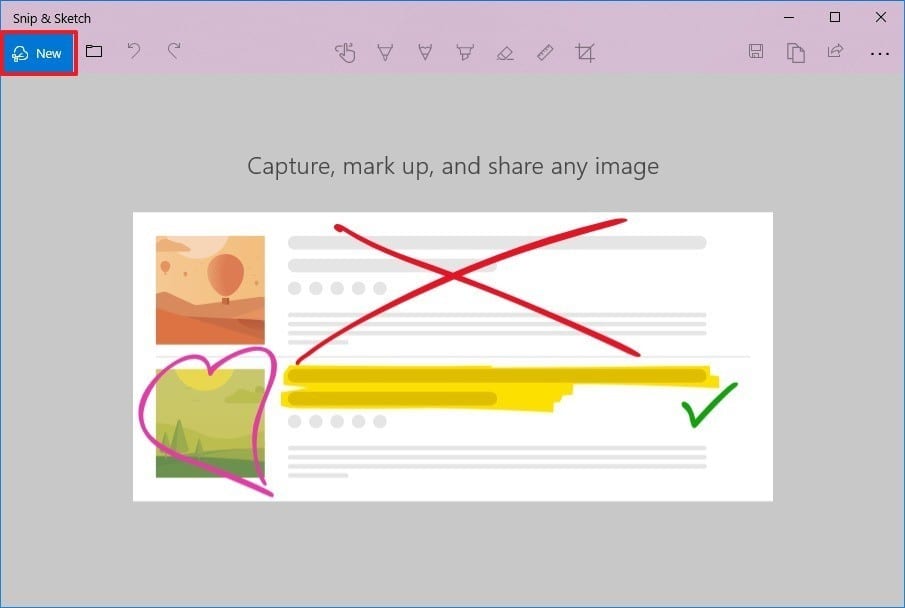
- Search for Snip & Sketch and click the top result.
- Click the New button in the top-left corner.
- Select the type of snip you want to use: rectangular, freeform or full screen (if using anything other than full screen, hold the left key while doing it).

- The marked area will now appear in the canvas of the Snip & Sketch app.
- Take the screenshot.
Or if you want to take a screenshot and paste it on a document, you can use the new Screen Snip button:
- Open Action Centre (use the Windows Key + A keyboard shortcut or click the Action Centre button in the notification area).
- Click the Expand
- Click the Screen Snip
- Select the type of snip you want to use: rectangular, freeform or full screen.
- Take the screenshot.

If you have enabled the Print Screen button (go to Settings > Ease of Access > Keyboard > Print Screen shortcut to turn it on), you can also take screenshots on Windows 10 using this option:
- Hit the Print Screen button (alternatively, you can use the Windows Key + Shift + S shortcut to open the snipping toolbar).
- Select the type of snip you want to use: rectangular, freeform or full screen.
- Take the screenshot.
When using the Screen Snip button or the Print Screen key, the screenshot will copy to the clipboard. If you want to annotate the snip or save it into a file, you need to click the Snip & Sketch notifications in Action Centre.
Editing a screenshot using Snip & Sketch
Once you have the screenshot or image (you can edit any other images by clicking on the folder icon), there are a variety of Markup tools you can use including touch writing, ballpoint pen, pencil, highlighter, ruler/protractor and the crop tool.
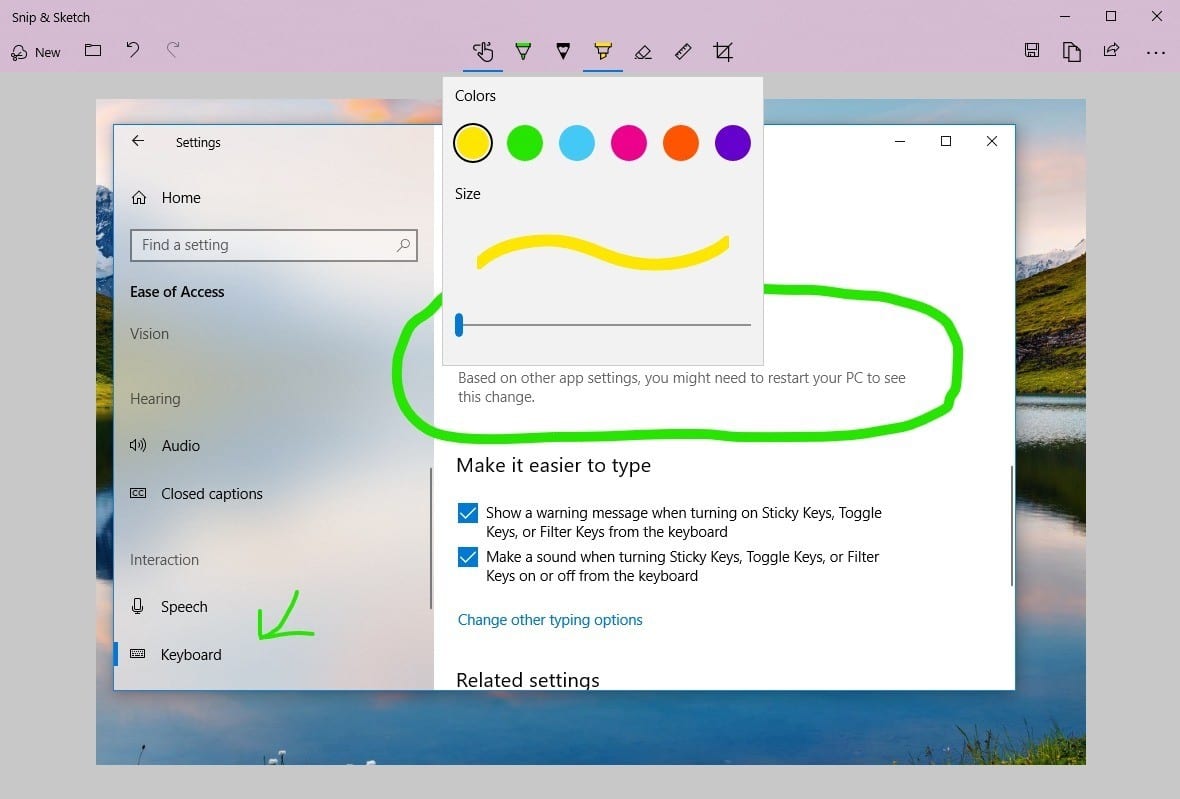
If you click on the lower part of any of these tools (with the exception of touch writing and the crop tool), you get extra options. Here you can change the colour, size and thickness of the pen or switch between the ruler and protractor tool. For any mistakes, there is also an eraser function to delete one or all of the strokes from the screenshot.
These tools have been designed to work best using a stylus on a touch-enabled device, but they also work with a keyboard and mouse.
At Pro Drive IT, our job is to make your life (and your employees’ lives) easier. Contact us today to find out how we can help your business.
Updated 2023